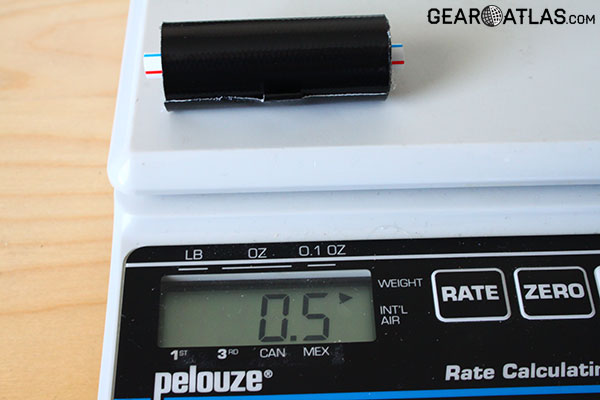
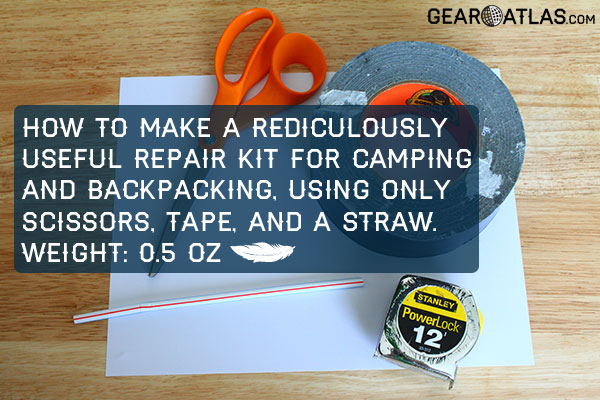
 In less than five minutes, you can create a ridiculously useful “repair kit” that weighs in at just 0.5 oz and costs pennies! Duct tape can be used to repair nearly everything, but here are some specific uses to get the gears in your head turning: Patching a torn tent, patching a punctured sleeping pad, repairing a torn stuff sack, patching a torn shirt or pants, taping up a hole in your shoe or reattaching the sole to the upper, taping gauze to a wound, removing slivers, splinting a broken bone or sprain, weaving strands of tape together to form a line, creating an insulating layer on a hot mug or pot, holding together a broken strap or buckle on your pack, taping together a broken headlamp, and so on..
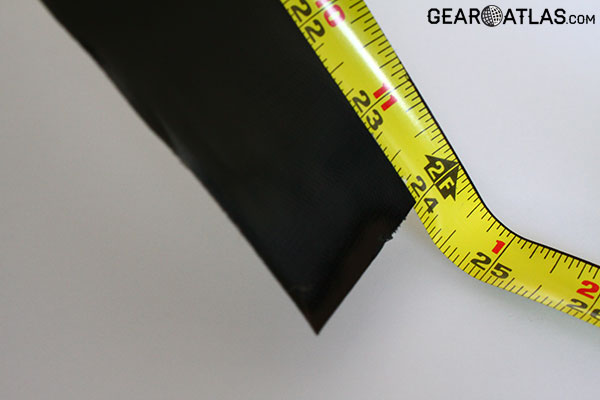 Step 1: Measure out about two feet of tape. I prefer Gorilla Tape for it’s amazing strength and stickiness, but just about any quality duct tape should do.
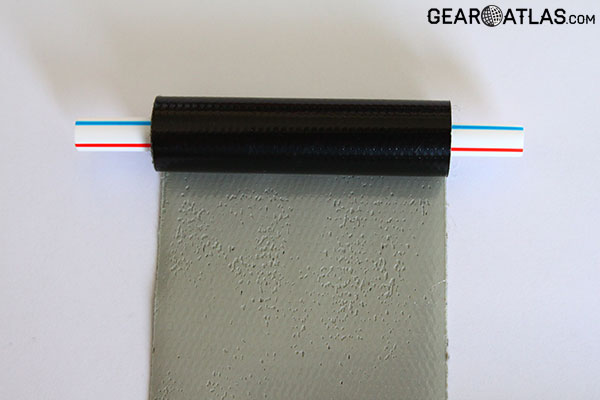 Step 2: Cut a straw so that it’s slightly longer than the width of the tape you’re using. Align the straw and tape so that they are as straight with one another as possible and slowly wrap the tape around the straw, keeping the tape as straight as possible.
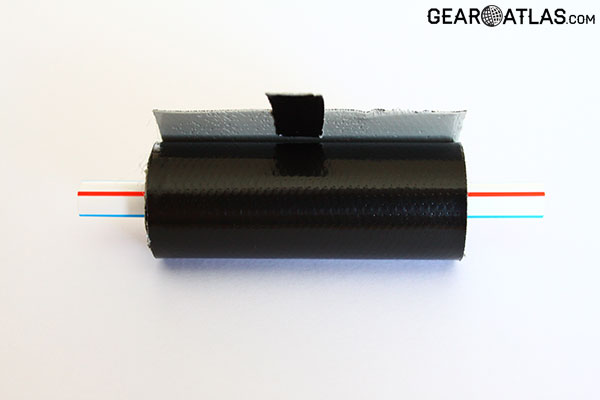 Step 3: Once you’ve almost finished rolling the tape around the straw, cut a small tab shape out of another piece of tape and place it on the end of your roll so that you can more easily pull the tape apart when it comes time to use it.
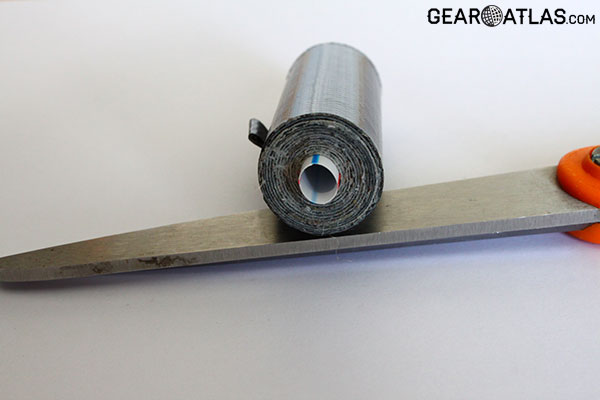
All done! Why not make a few extra rolls to keep in your car or to give to your fellow hiking buddies?
